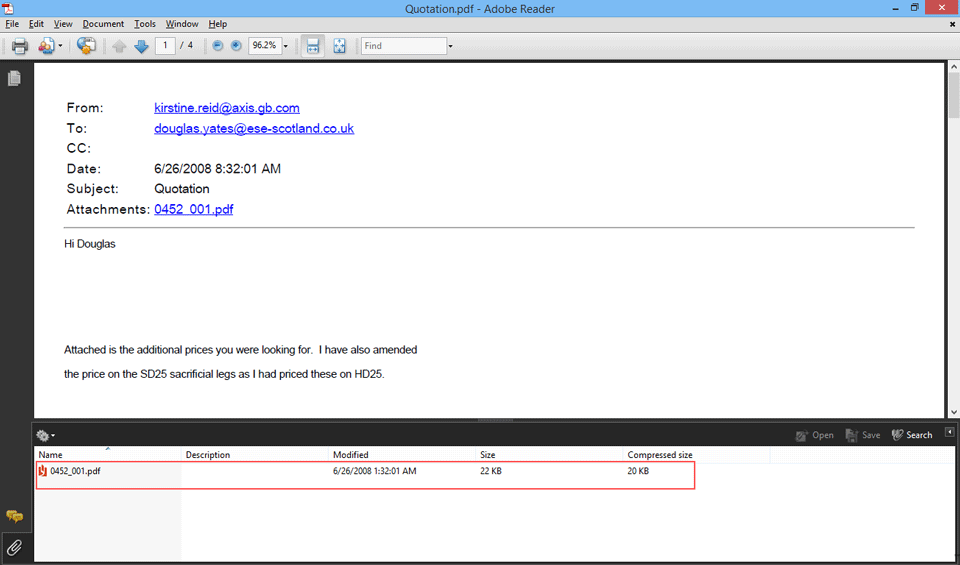
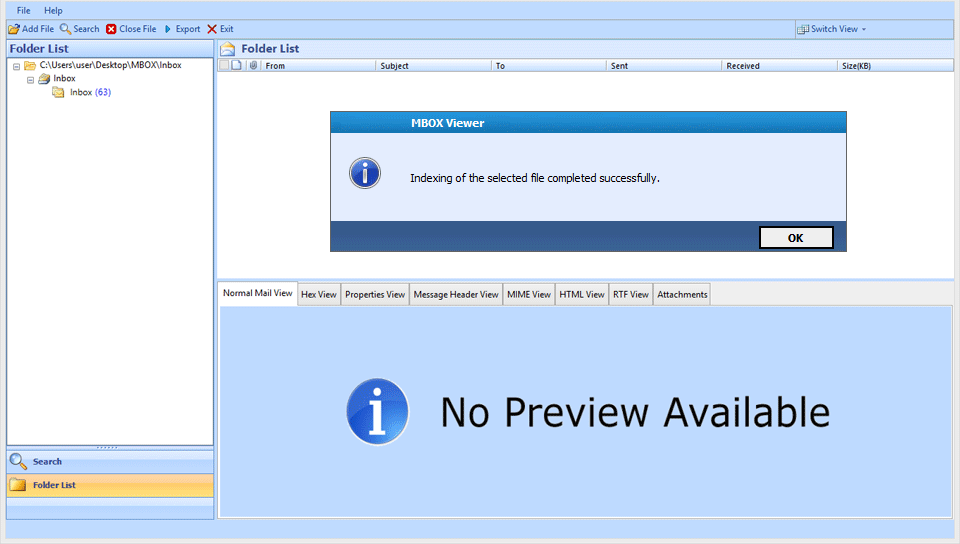
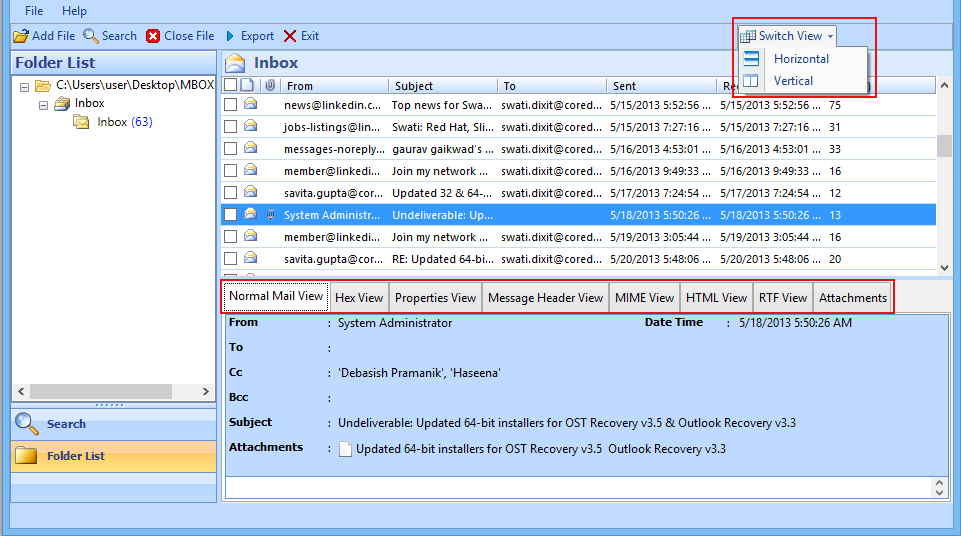
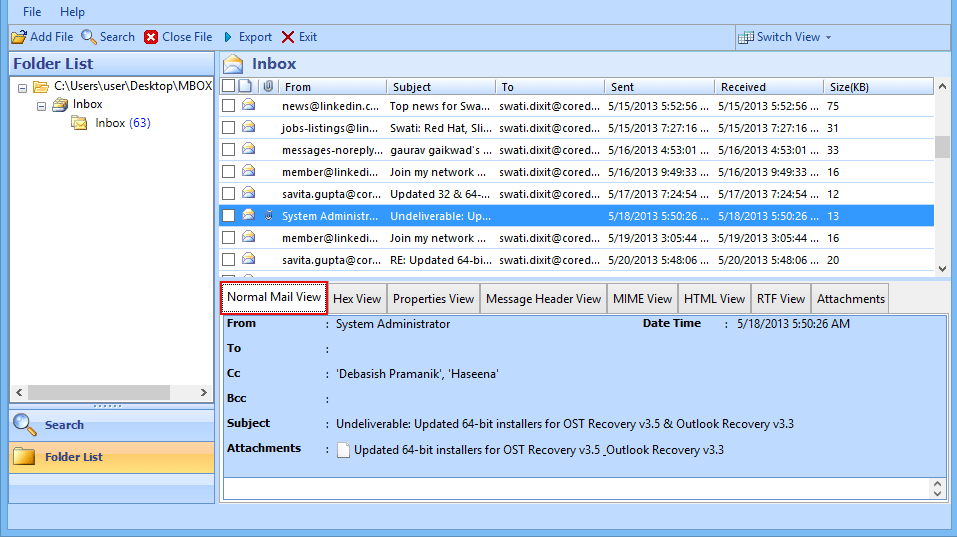
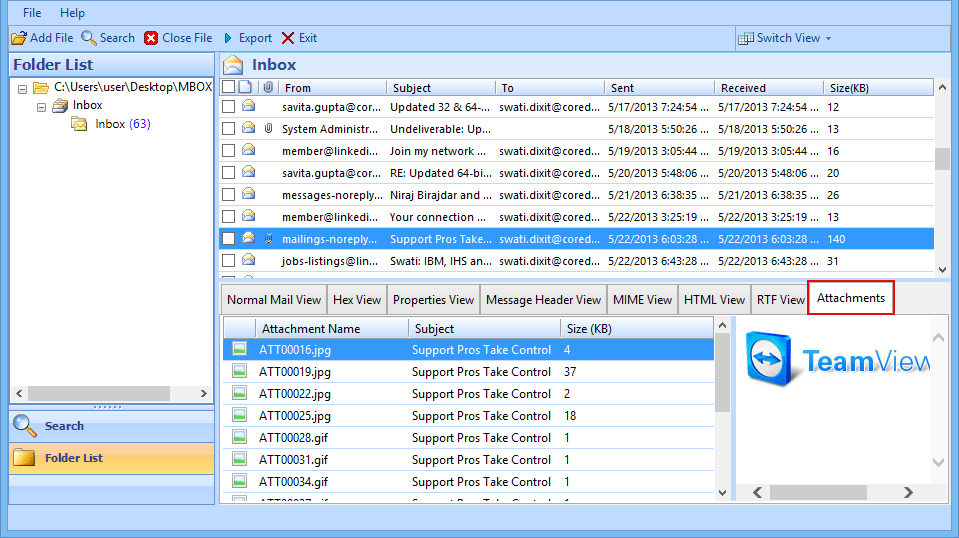
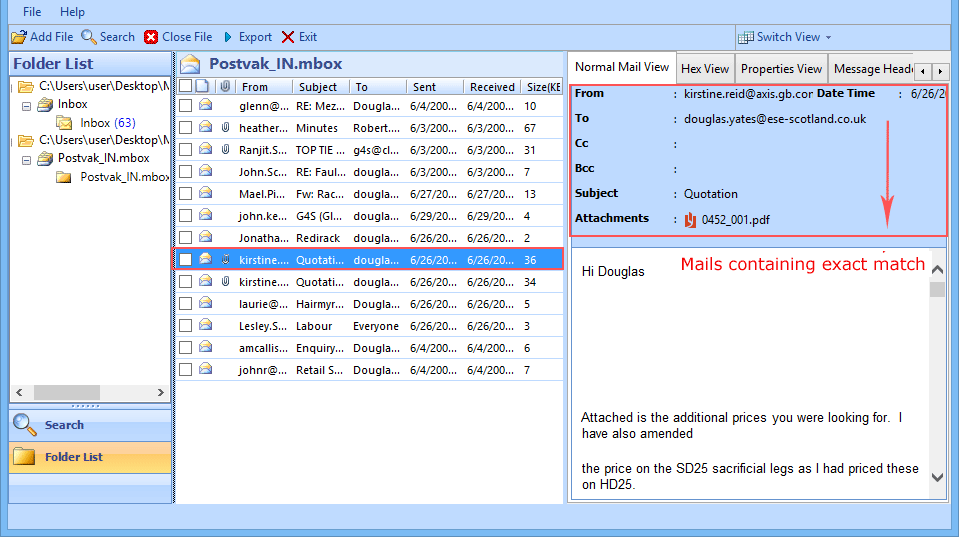
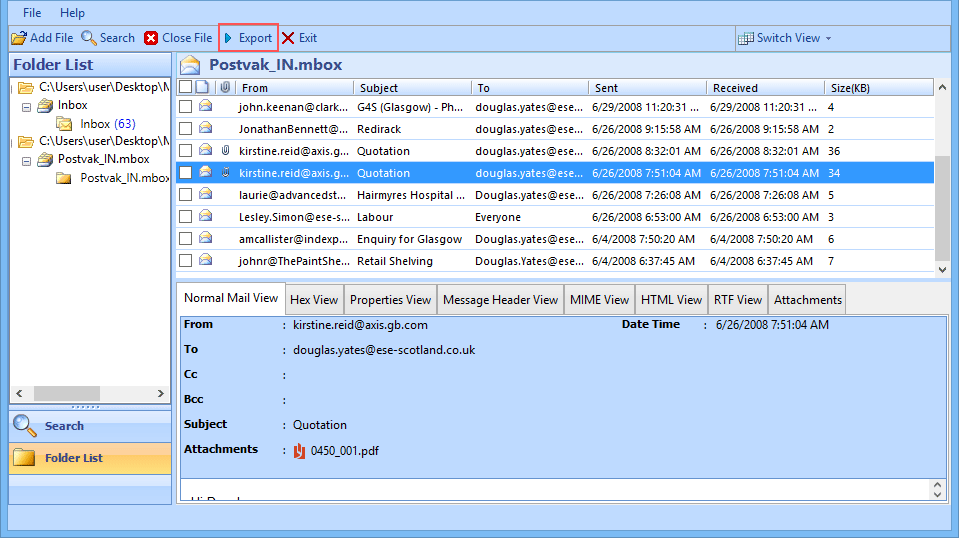
After software loads the MBOX file Items, select items that you want to view in the display pane with multiple view options such as Normal, Hex, Properties, Message Header View, MIME View, RTF and Attachments View respectively. You can make use of the Switch View options from Horizontal to Vertical View to ease out message preview experience as per convenience.
Click the Search button to find a specific email within single or multiple MBOX files using various parameters such as Message Subject, To, From,Body etc.
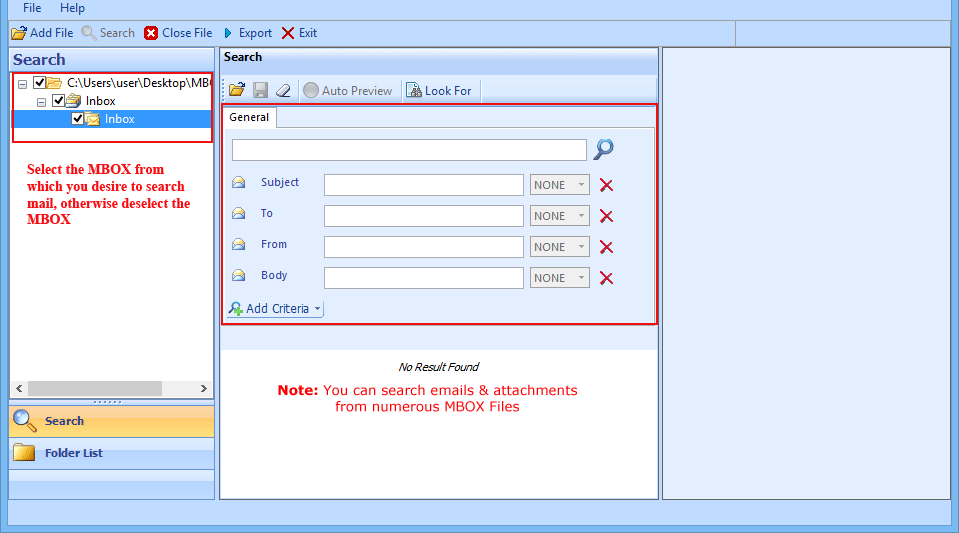
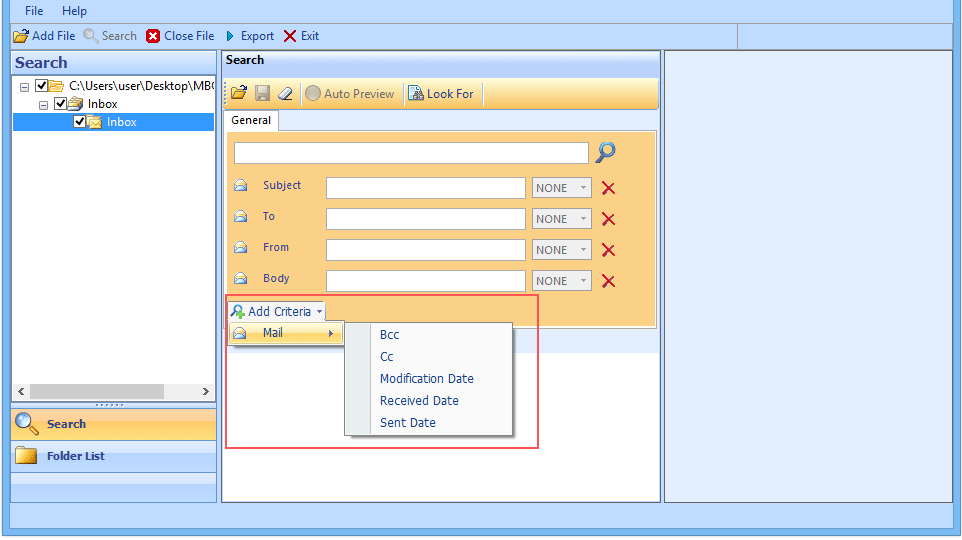
You can add multiple filter criteria’s to enhance your search query to find a particular email.
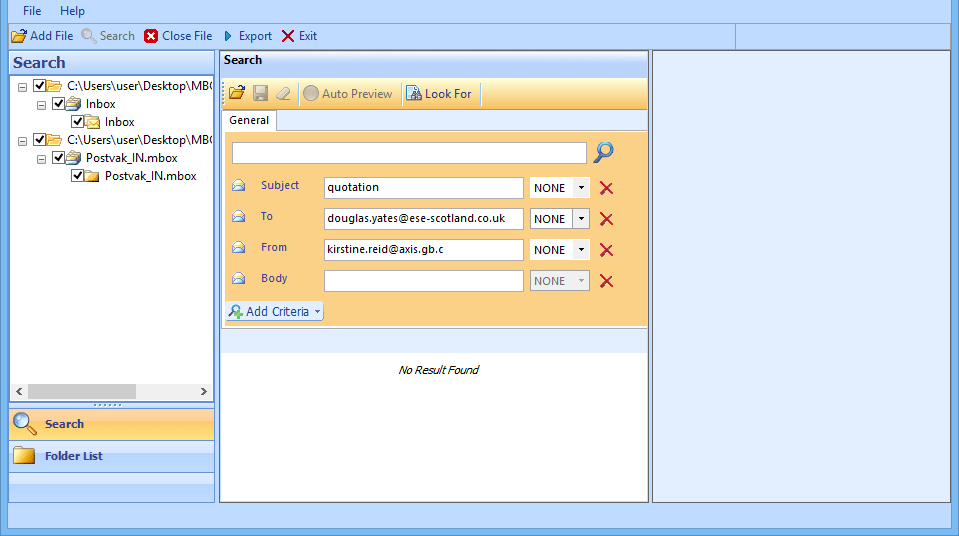
Use Advanced logical operators to your search query i.e. AND , OR & NONE :
(1) OR: If you are unsure about specific parameters to be absolutely correct, then the software looks for the other option in the parameter.
(2) AND: This parameter ensures that two collective parameters are present within an email.
(3) NONE: Upon selection of the NONE operator, software disables the applied operators consecutively on the other parameters.
You can view the highlighted email message after obtaining the result from your query of the Mails Containing Exact Filtered Data Match appearing first with the highlighted data.
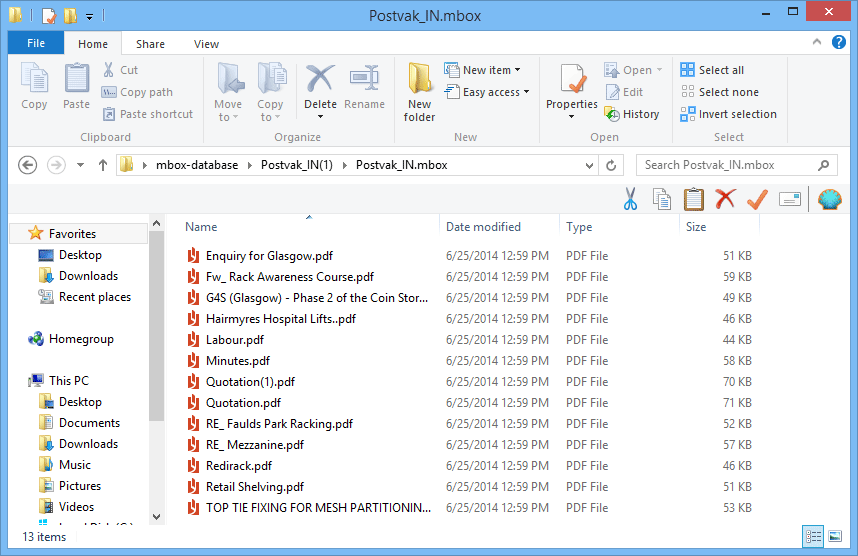
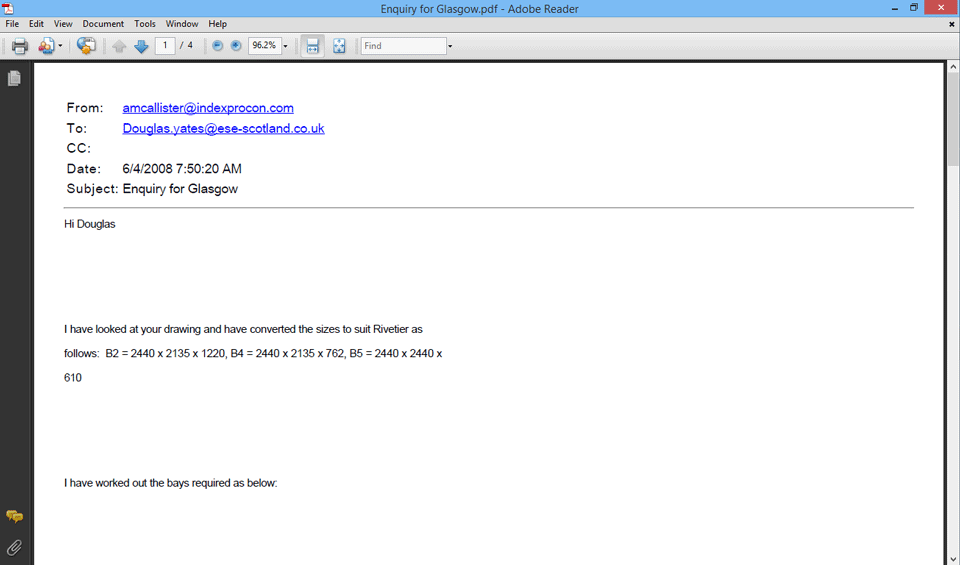
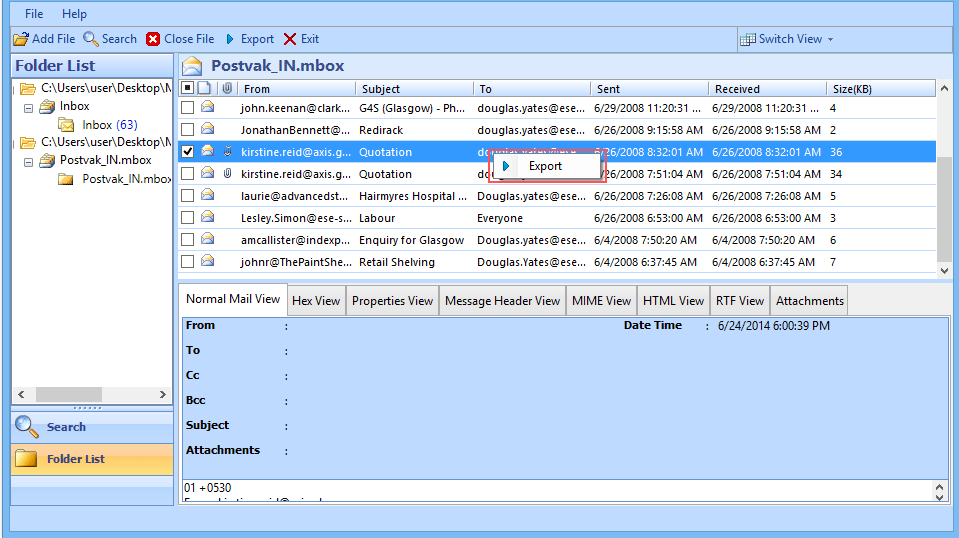
The software allows you to export search results into Adobe PDF file format. Select the emails from the search results, right click on them and then select the Export option.
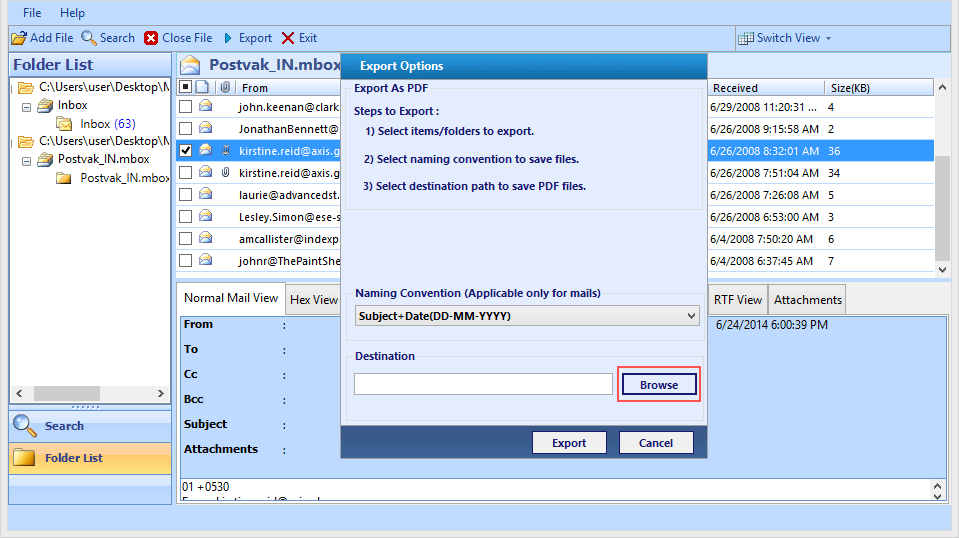
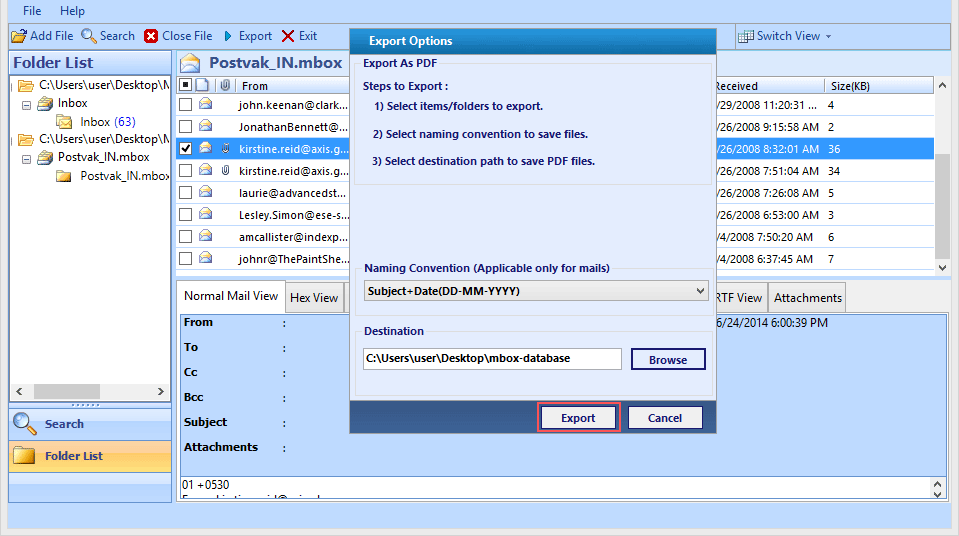
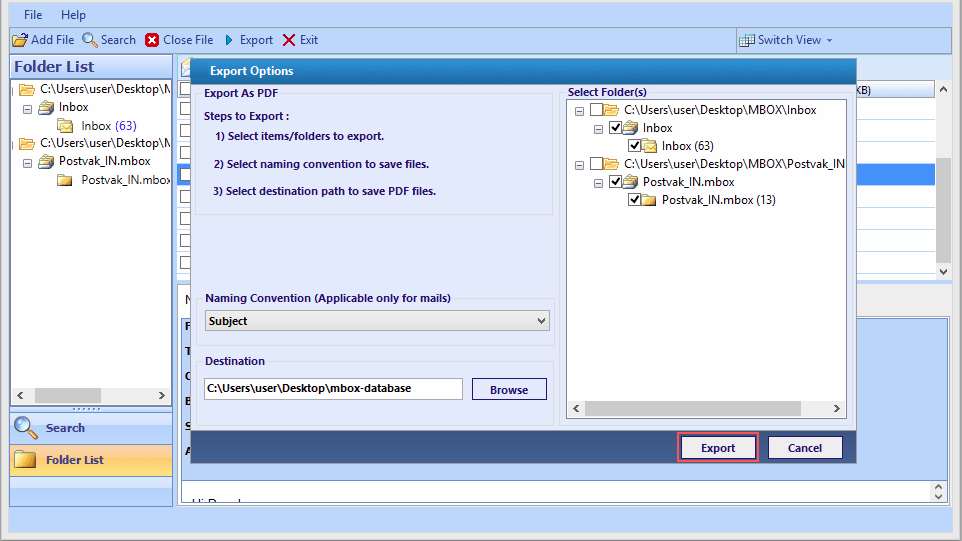
An Export Option window pops up as soon as you select mails and click on the export option. Choose the destination path where the output files will be stored by clicking on the Browse button. You can also apply specific Naming Conventions for the output file.
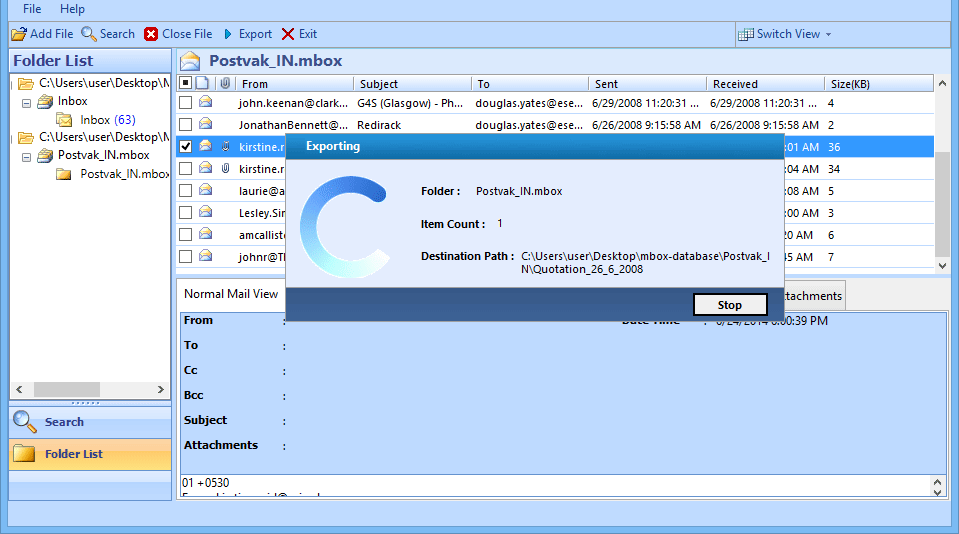
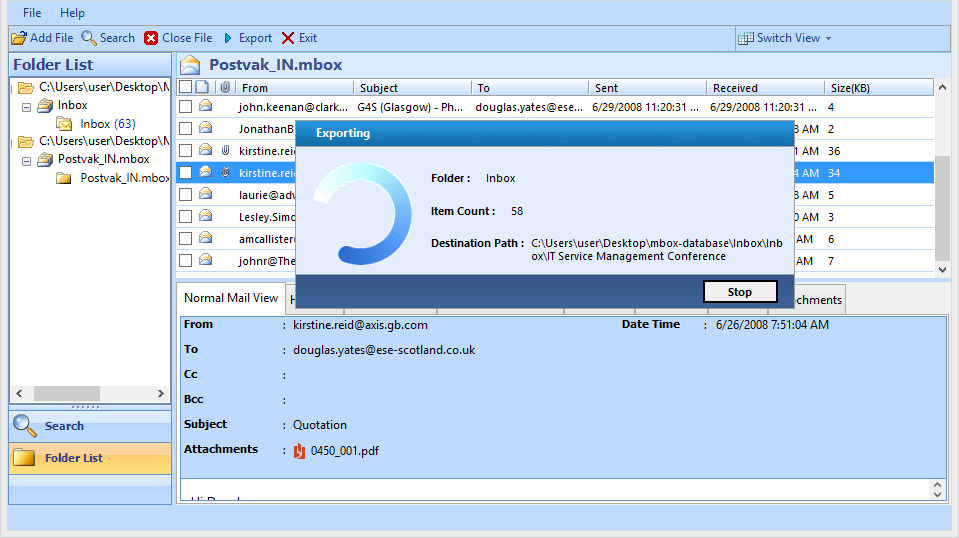
A Window pops up displaying the Export process in progress with folder, item count and destination path details.
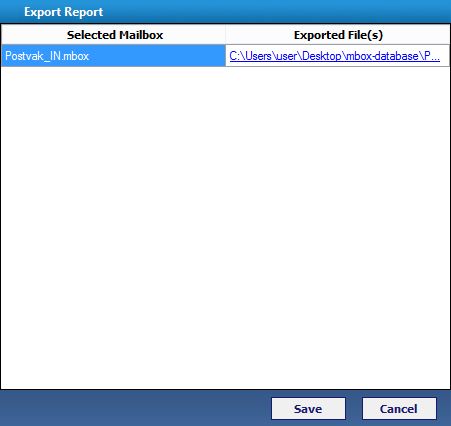
As soon as the conversion process completes, an export report is created simultaneously which you can save in your local machine by clicking on the Save button.
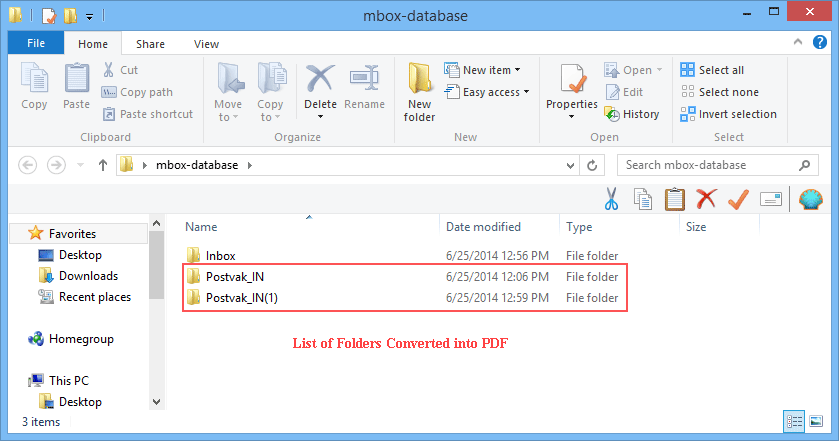
To Export Bulk folders, click on the Export option located on the top menu bar and follow rest of the process respectively.
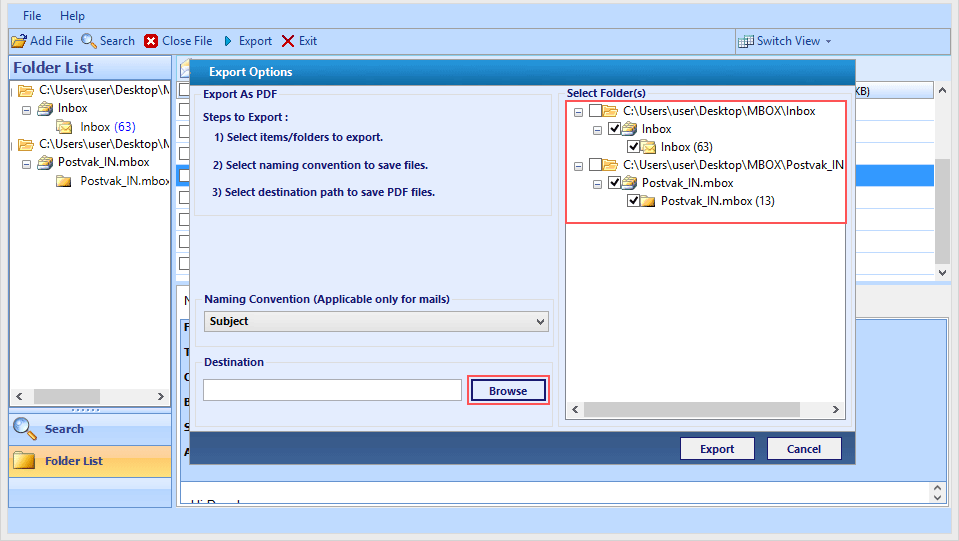
Select the MBOX folder which you want to export in the Select Folders Pane. Click on the Browse button to select the destination location for saving PDF file.
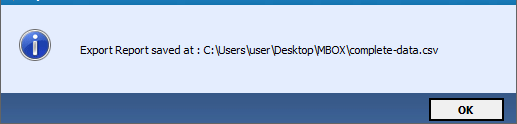
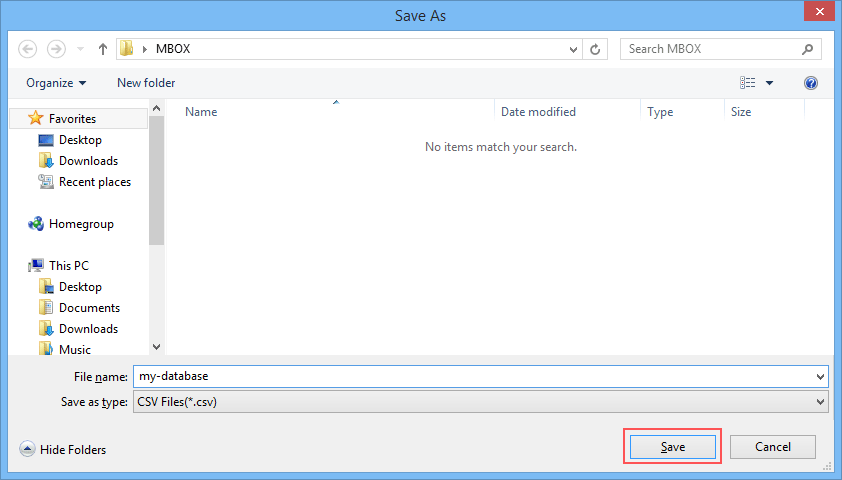
Upon completion of the Export process, an export report gets created. Save the report in CSV file type format if required.

On receiving the prompt “Export Report saved successfully at given path”, click OK to proceed further.