STEP 1

Launch PST Viewer from the installed location. To open the software, Go to Start > All Programs > PST Viewers.

Launch PST Viewer
STEP 2

Click "Add File" to start the process of adding .pst file in application. Select the "Browse" button to find the pst file from machine.

Add File
STEP 3

As, you click on the triple dot ( ... ) button as highlighted in displayed image, a dialogue box prompt you to browse and select the PST files.

Browse File
STEP 4

Once you browse the PST file select Advance Scan scanning mode if the PST file is Corrupt otherwise don't select it. Then click Add File Button to Proceed.

Scanning File
STEP 5

Once you are done with adding PST file, the following message pop up to enable searching of files recovered after the scanning. We recommend to Click Yes and proceed scanning.

Adding PST file
STEP 6

As the scanning of PST file process appears on the screen. After completion of scanning, it display a message. Just Click on "OK" button to continue.

Process Completed
STEP 7

After scanning, the software loads the entire PST file items and you can preview it with Outlook graphical interface. You can view emails in normal view and by clicking on Normal Mail View tab as shown on screen.

Normal mail view
STEP 8

Next, to view the properties of an email like Received date, sent date, email id's, attachments info etc. Click on the MIME View and the screen will appear as shown.

MIME view
STEP 9

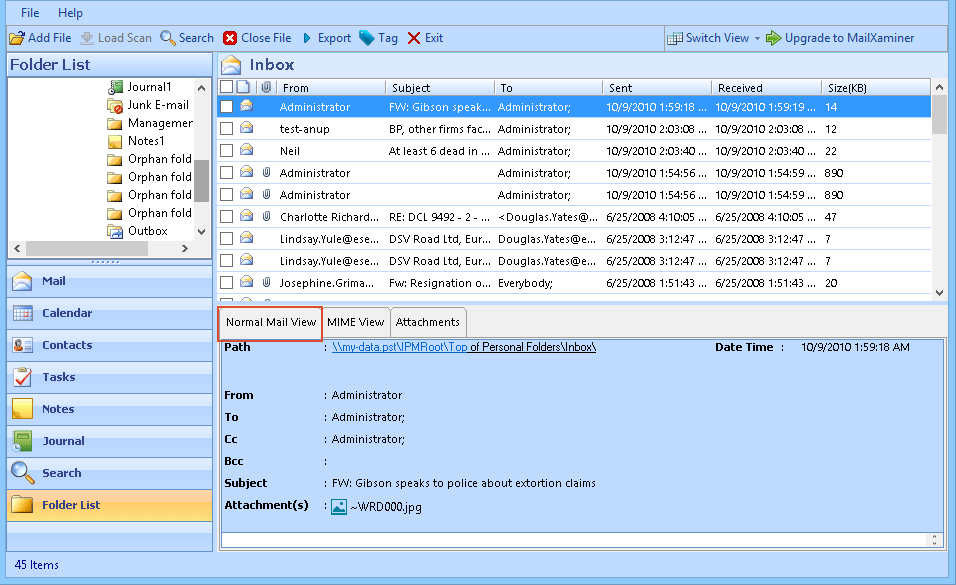
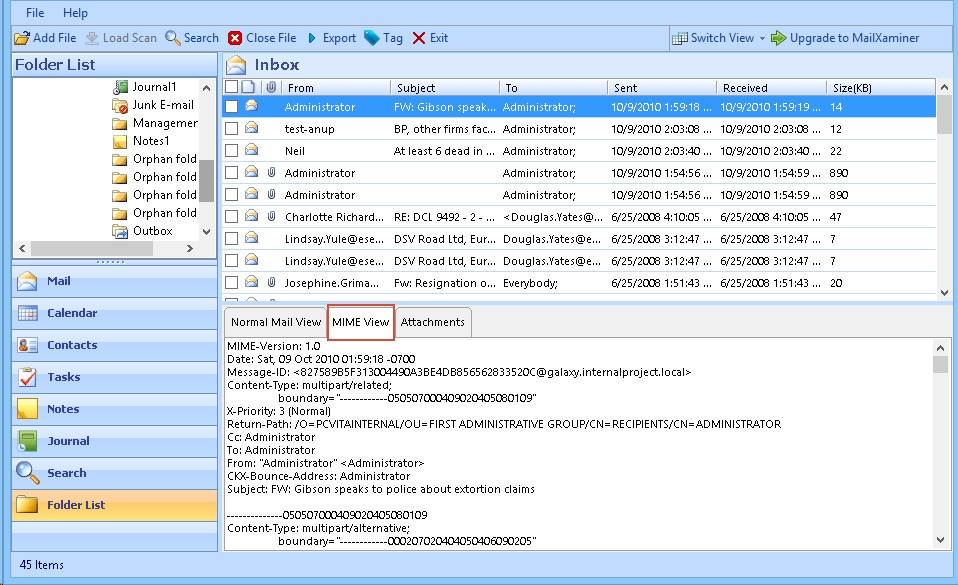
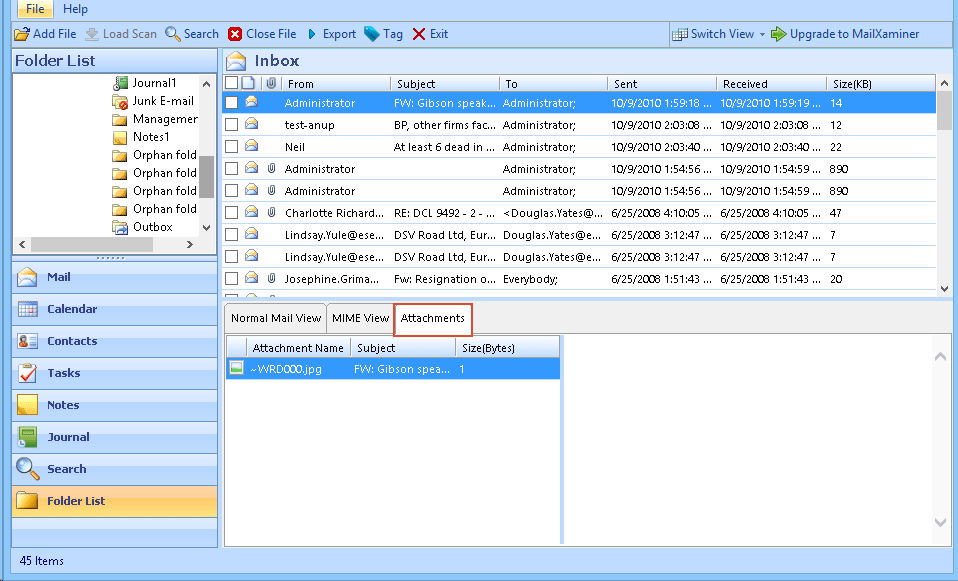
In order to view the attachments of any specific email, the simply select that mail and click on the Attachments Tab to view the attachment.

Attachments
STEP 10

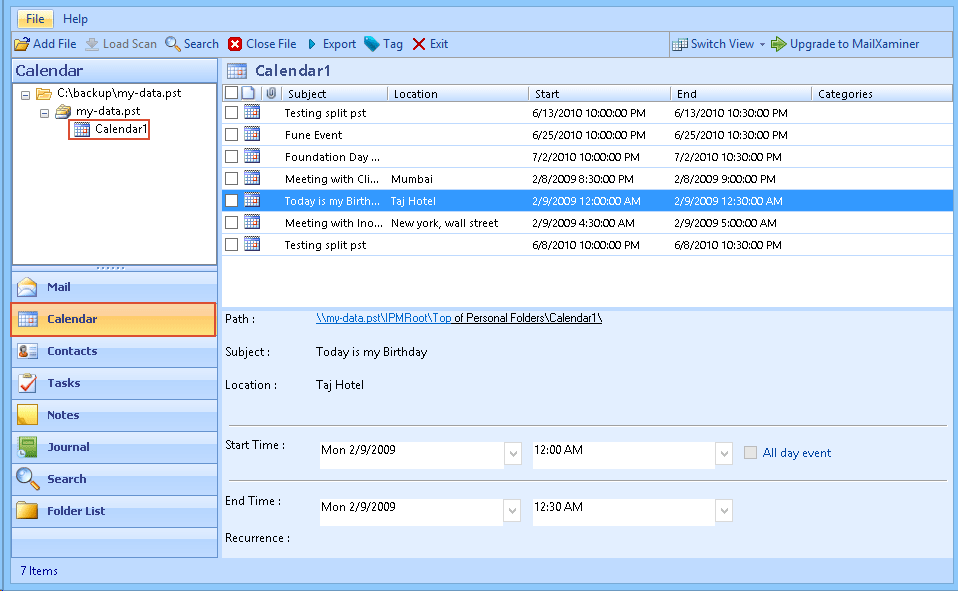
In order to preview the Calendar, Click on the calendar tab as shown on the screen and select the any of the calendar that you want to view. Similarly, you can click on Contact, Tasks, Notes & Journal tabs to preview the items in it.

Preview Calender
STEP 11

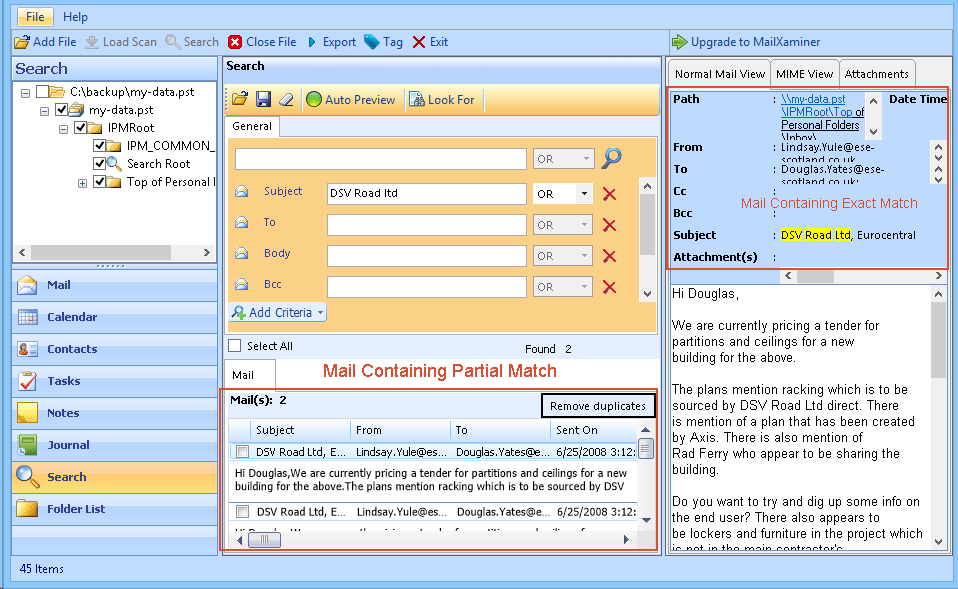
With Advance Search option of Outlook PST viewer tool, it is possible for you to search for any single email from single or multiple PST files. Forensic users can take the benefit of the filtered searching feature available with in the Outlook PST viewer pro.

Advance Search
STEP 12

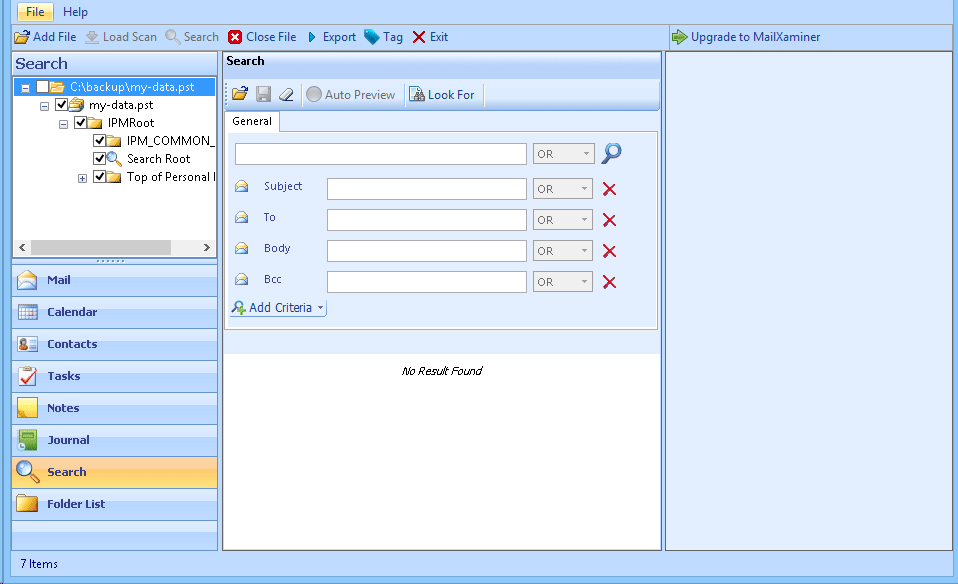
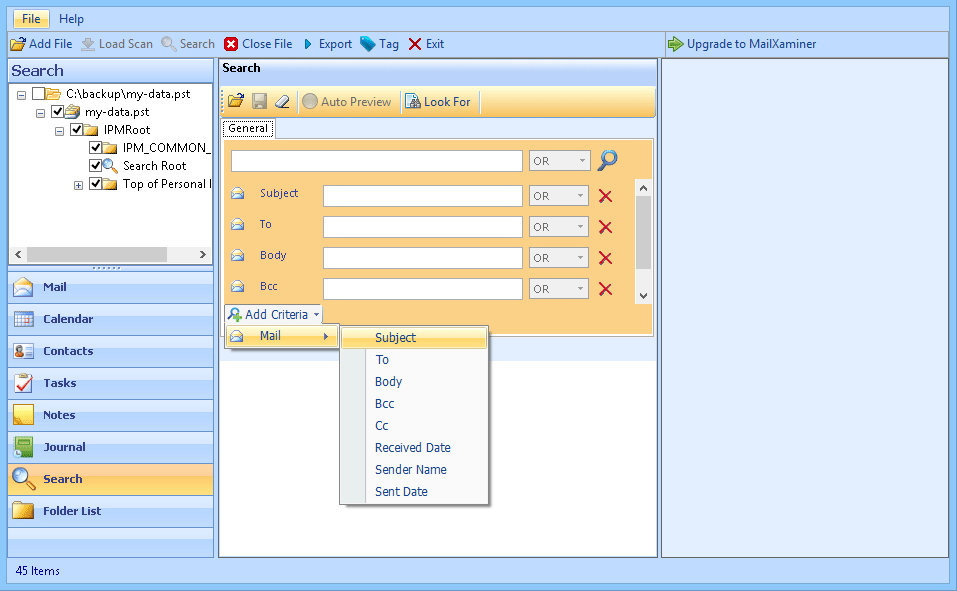
Add filters like To, Cc, Bcc etc. for searching the specific Mail. You can also Add the "AND" & "OR" operator to make search more specific:

And & Or Search
STEP 13

You can view the highlighted mail after processing of queries:

Highlighted Mail
STEP 14

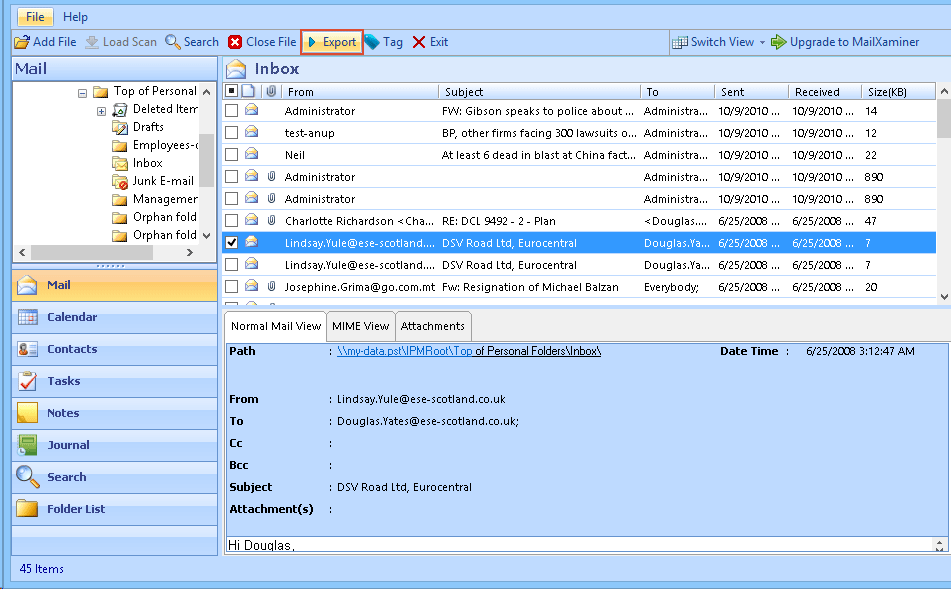
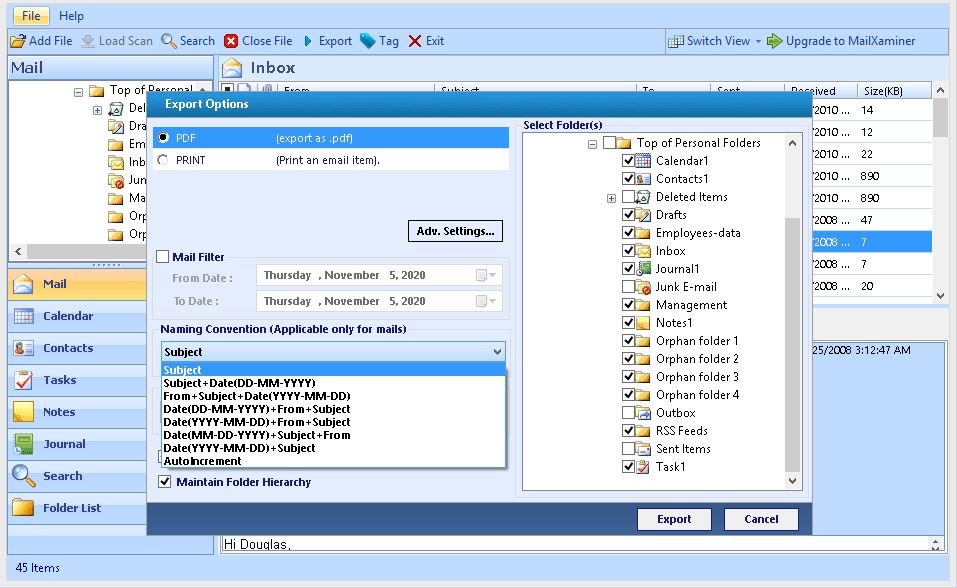
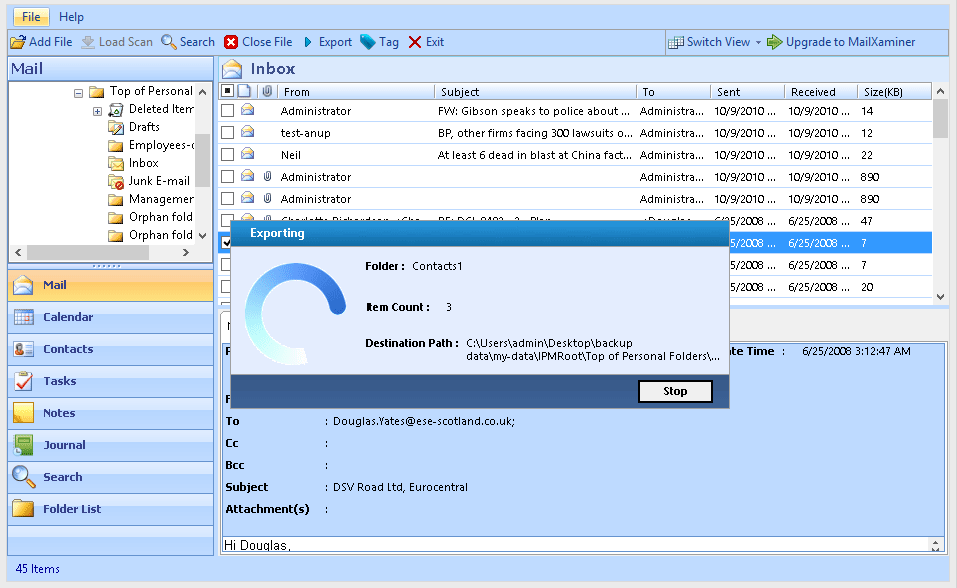
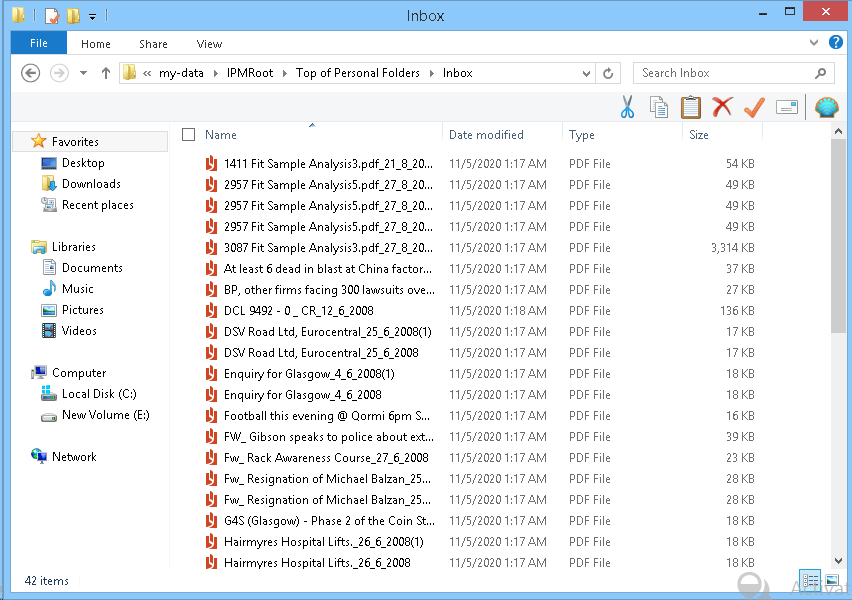
Export option is available in PST viewer to either save the selected emails to save as PDF file or to export all emails at a time to PDF. Click on the export button on the Tool bar to export the selective folder.

Export as PDF
STEP 15

As you click on the export button, the following screen appear with all steps to export the file as PDF. Follow the instructions and click export button at the bottom left and proceed to save PST folders as PDF.

Export Process
STEP 16

As the exporting completes, you will get an alert message as Export Completed Successfully.

Export Completed
STEP 17

After this, you can navigate to the folder having converted PDF file as shown in the image.

PDF Folder